
Email Signature Creator
ESC Quick Tour Guide
First time Opening
When opening Email Signature Creator (ESC) for the first time, you will be presented with the default "Example Signature"
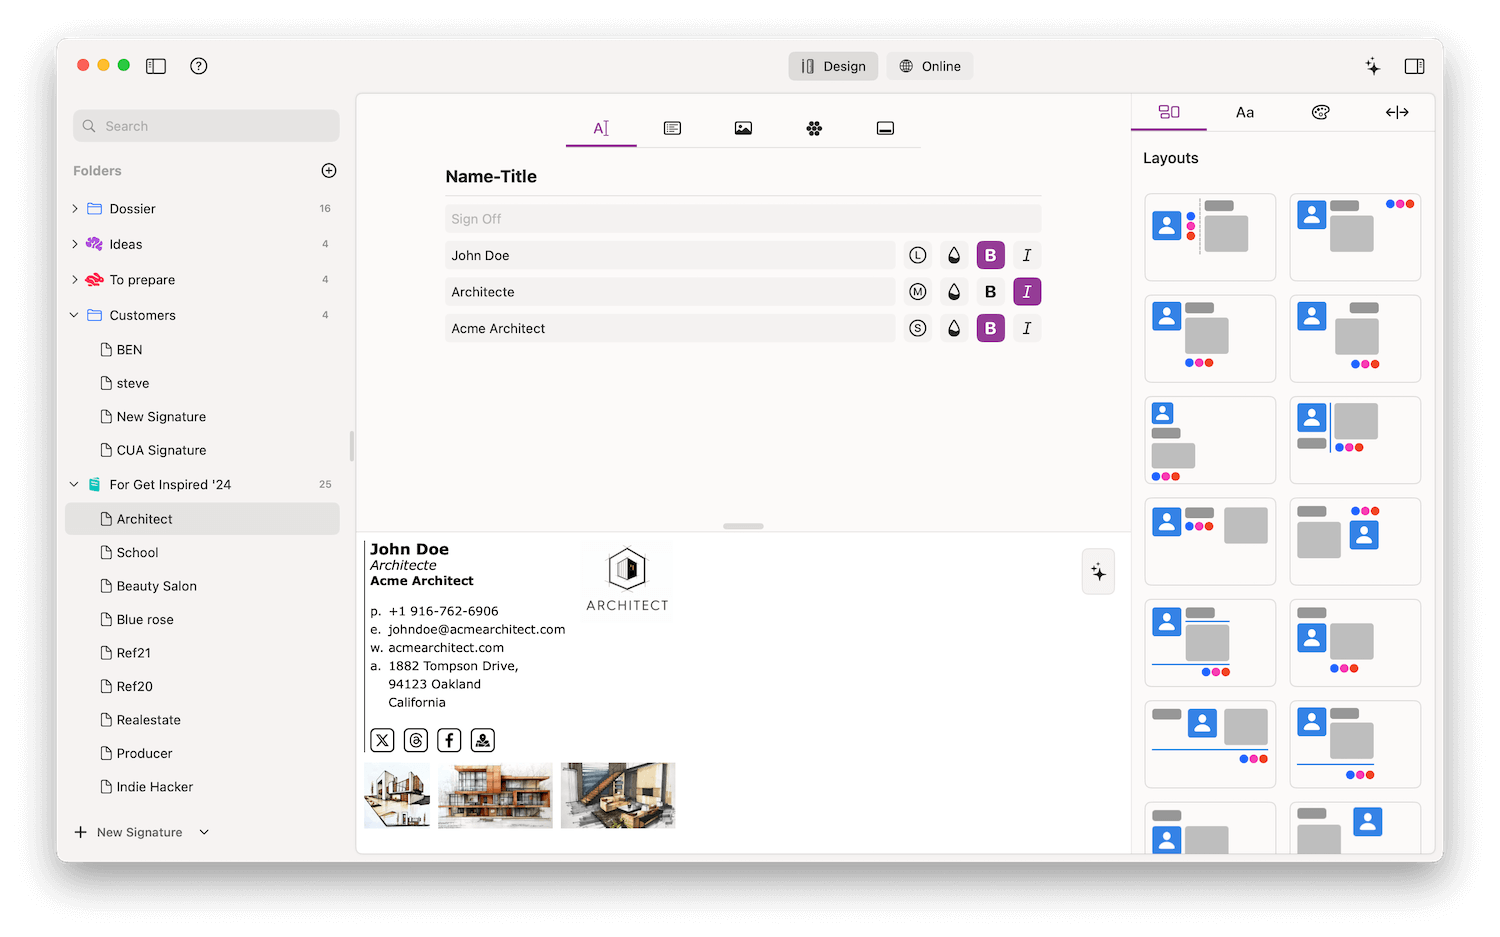
ESC window is composed of 4 parts:
- Left sidebar, your signatures.
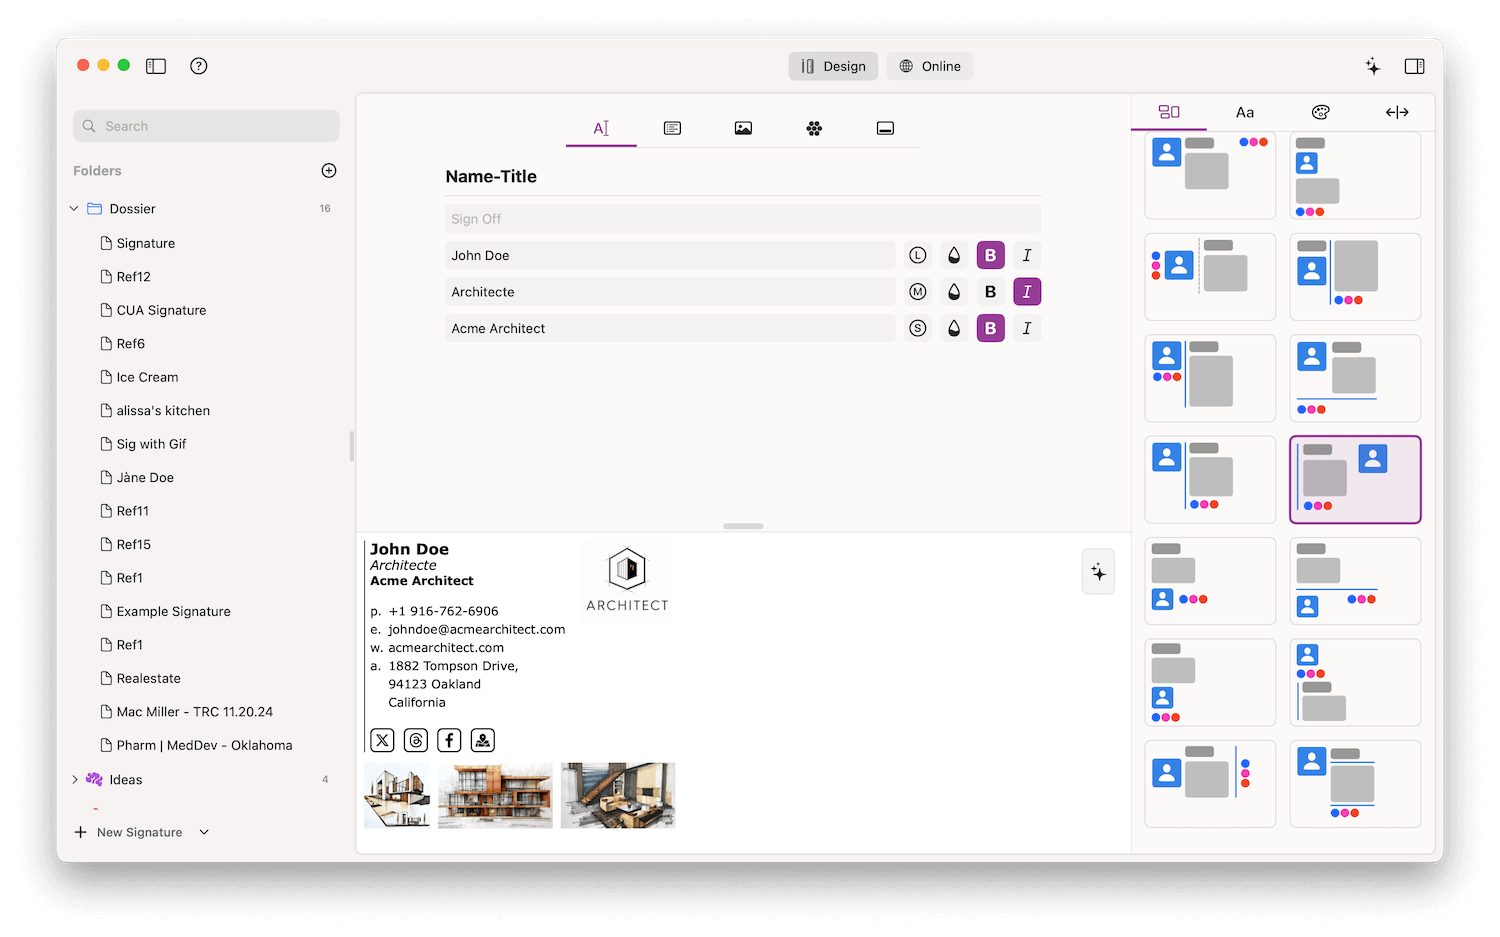
- Right sidebar, to choose your template and fine tune your settings.
- Bottom part to set the information of the different modules.
- Top part being the resulted signature.
Add a Signature
On the left panel area, you will find all your signatures.
To add a new one, simply press the + button.
NB: All the following steps are done in "Design Mode". This mode is used while designing your signature.

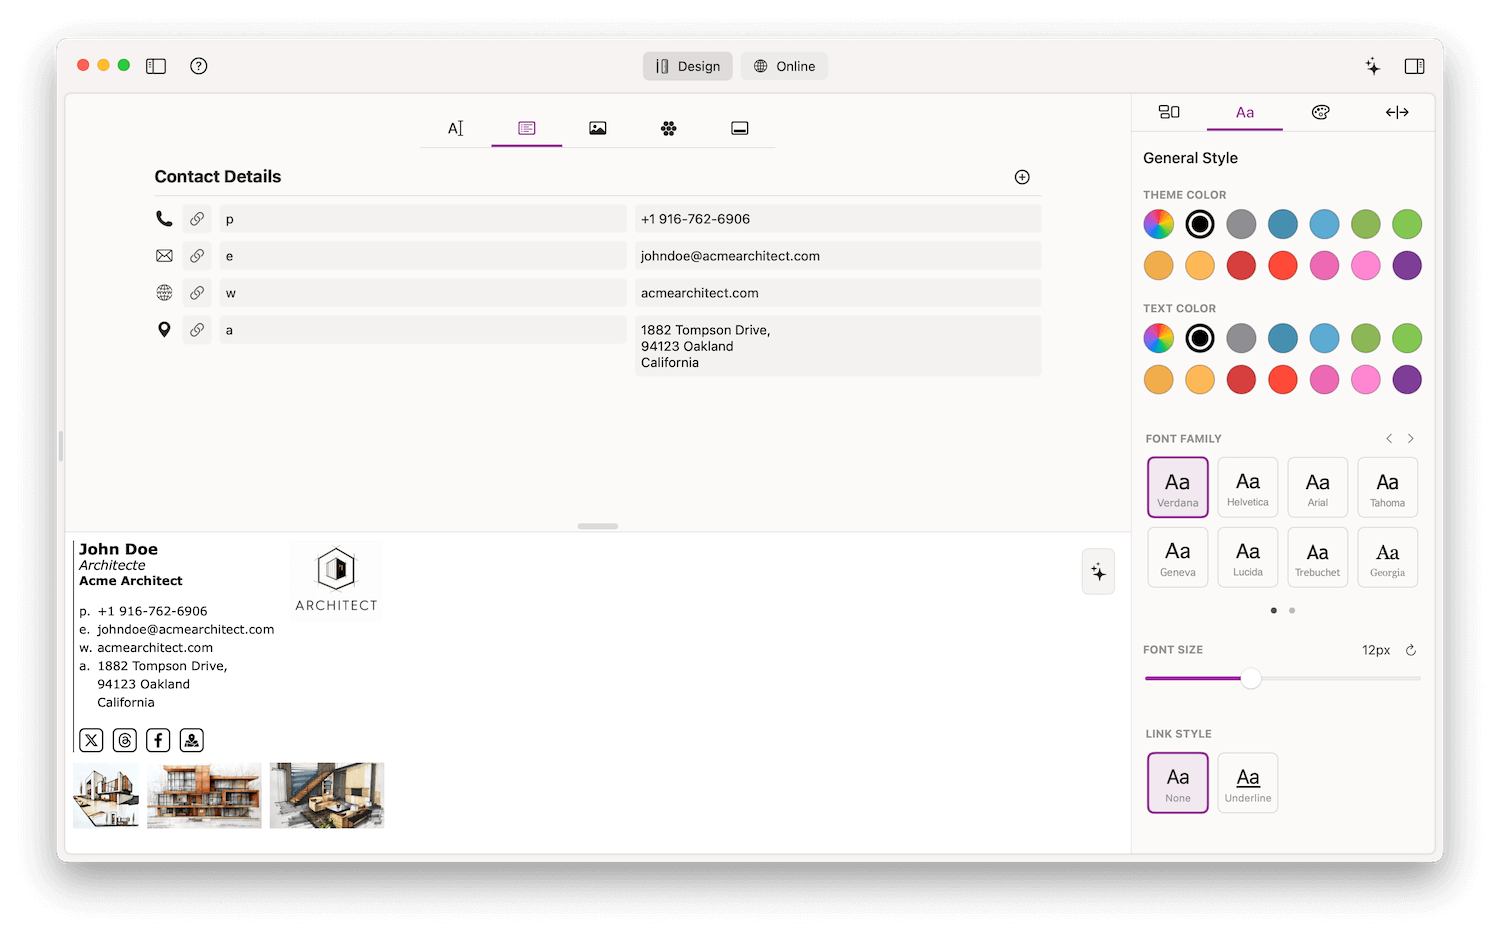
Enter the Details
At the bottom of the window, you will find all the modules that can be part of your signature. (Details, Title, Picture, Social...).
You can start to enter the Name and Title for example.
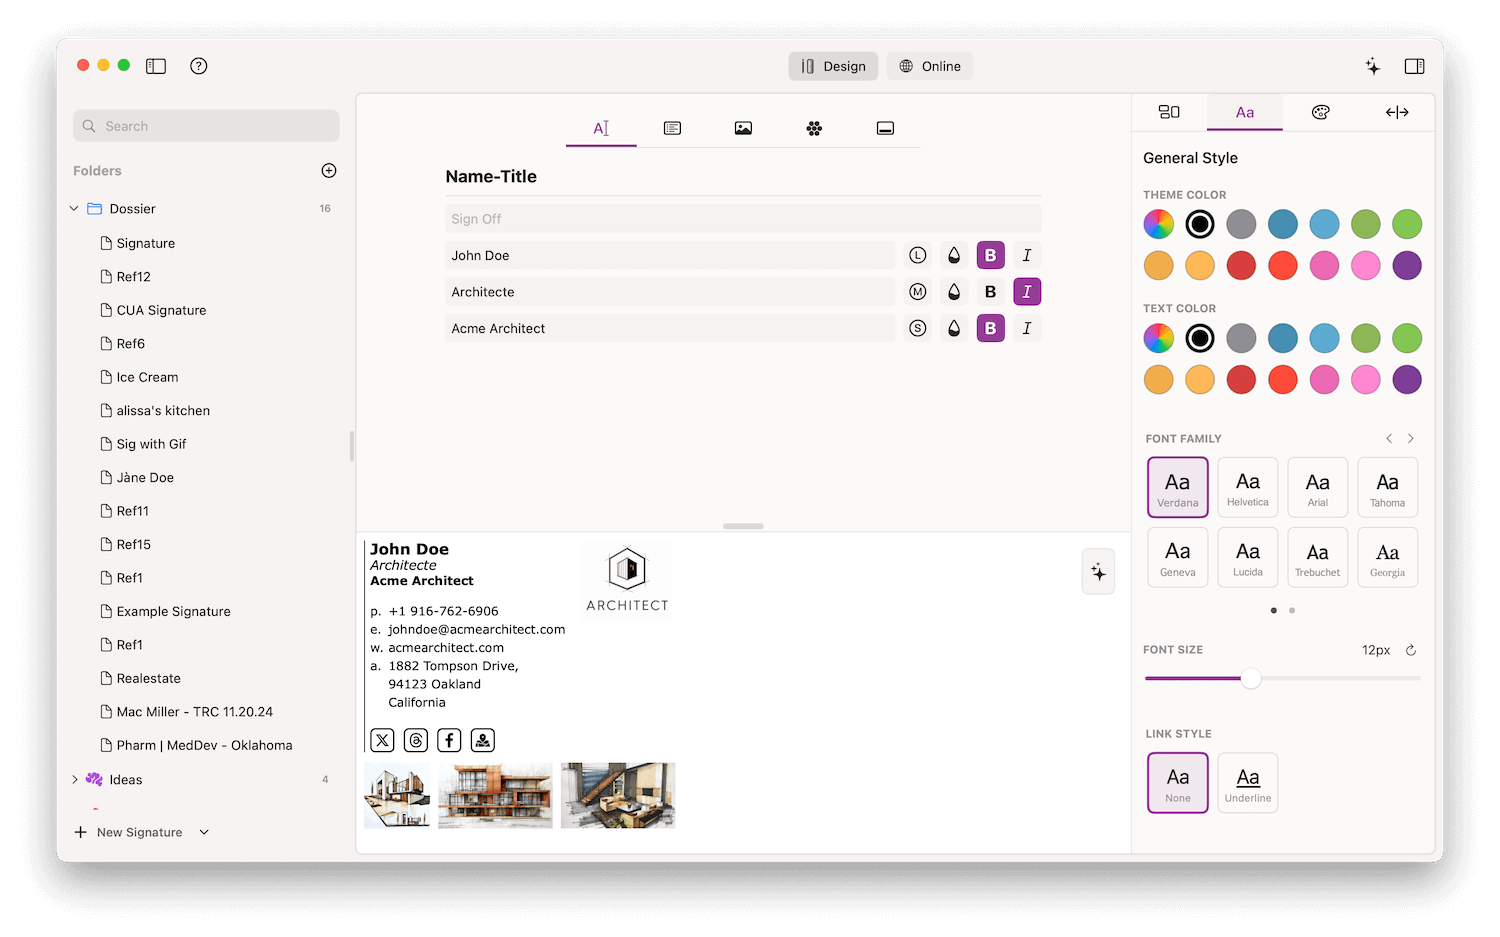
More Settings
On the right sidebar part, you can select your Templates and fine tune other Settings, such as color theme for example. Or font family, size, and more...
Let's enter more details
Let's continue to input your details...
and more...
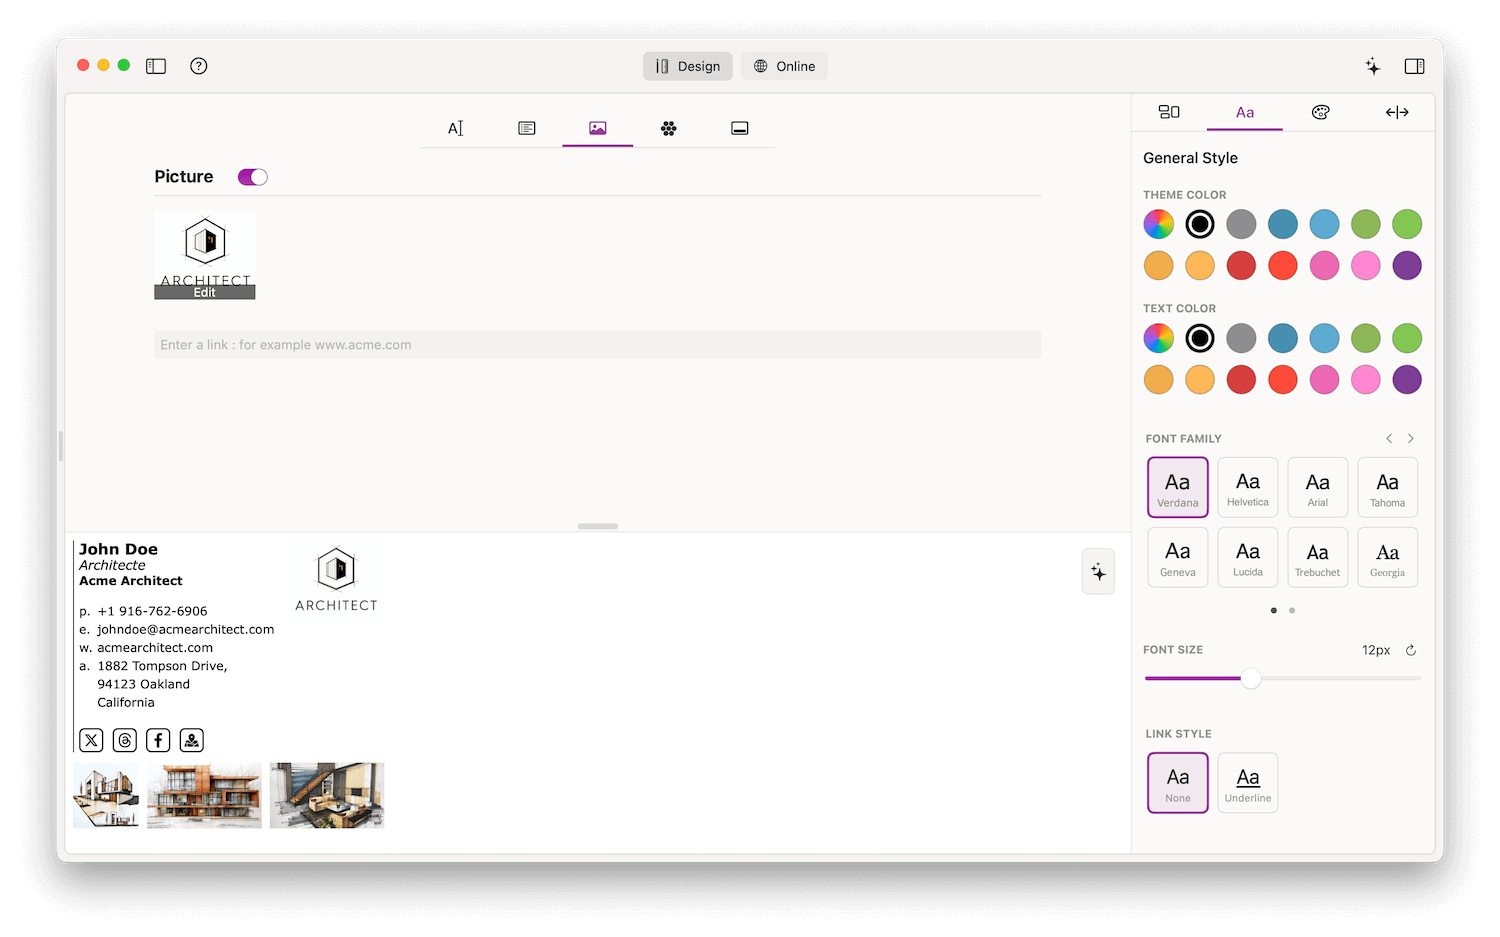
Add your logo from the picture tab... if you want ;)
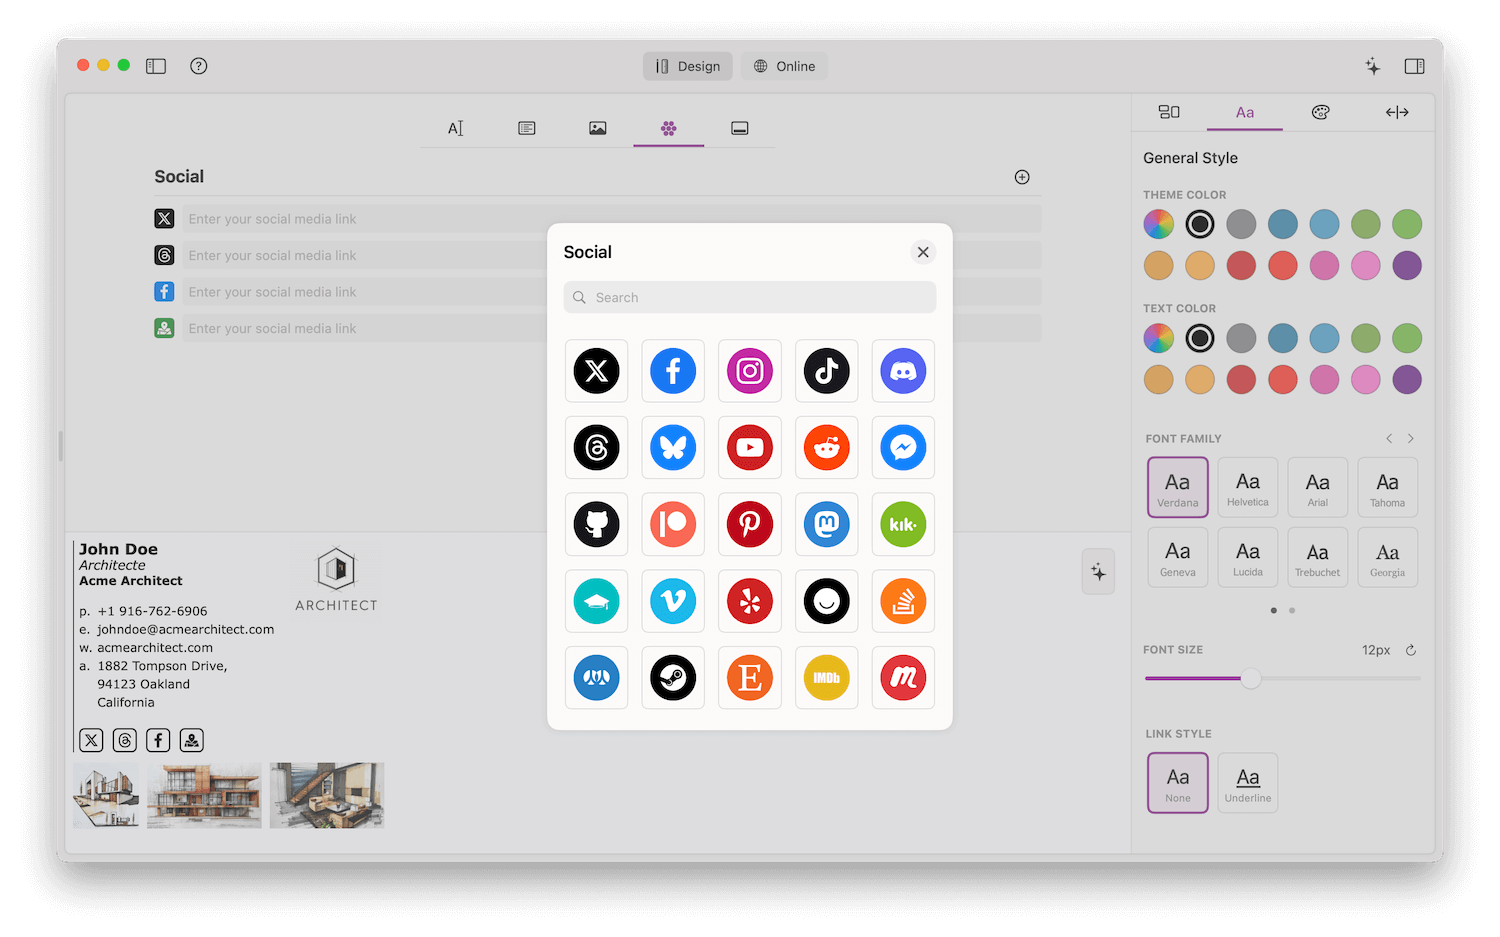
Social Icons
If you want you can add some social icons among our 100+ social icons proposed. Select the shape, color, size...
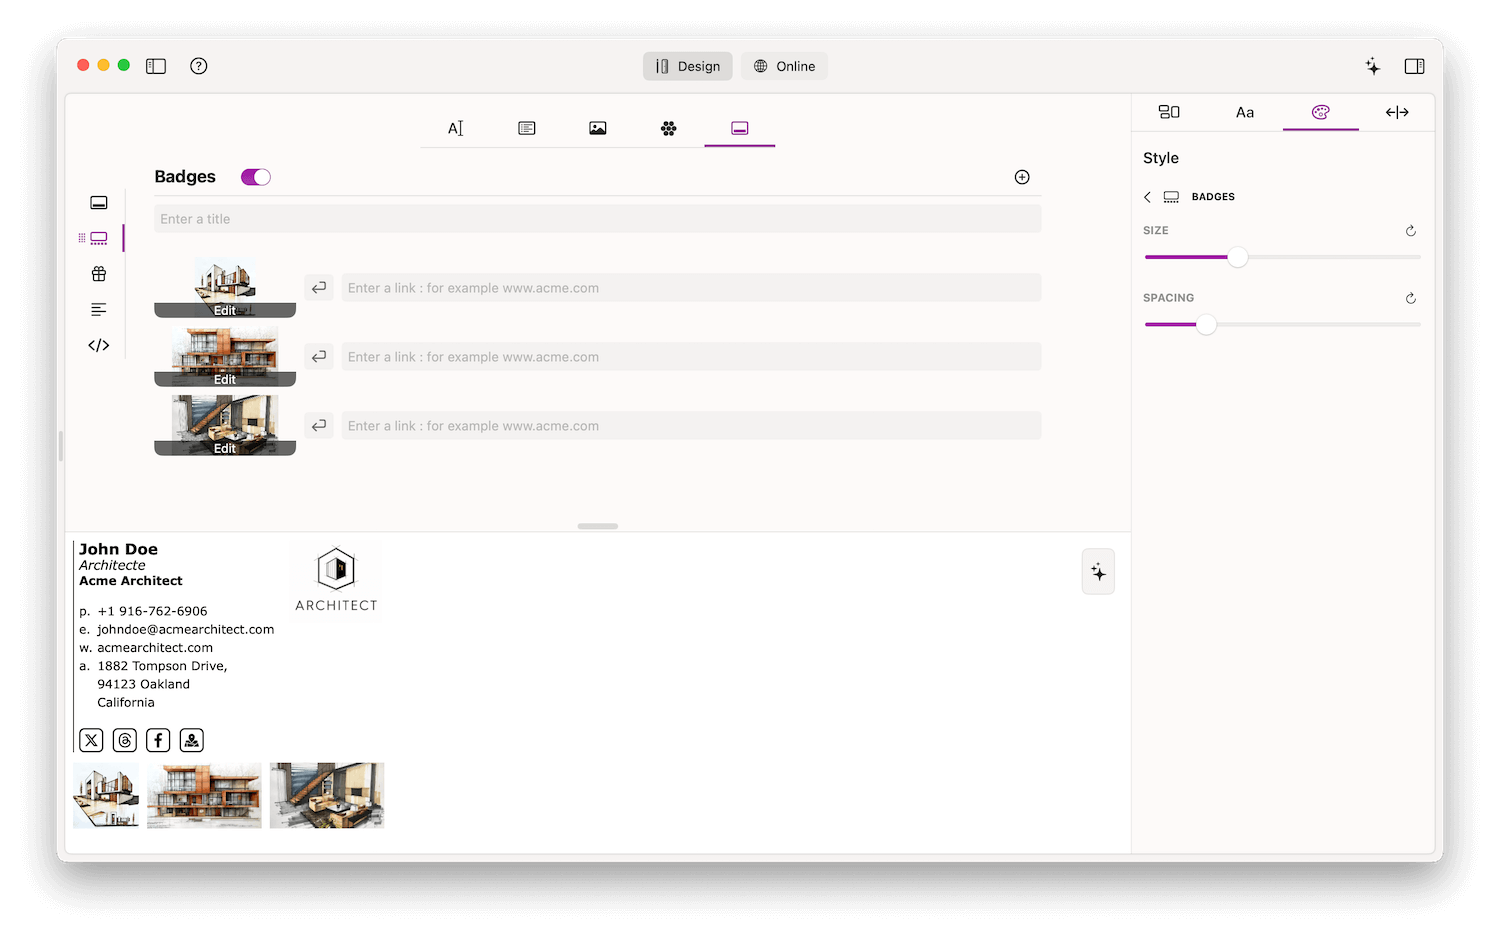
More...
You can go deeper and add more footer options... Banner, Badges, Promote, Disclaimers...
Export Images
When you are happy with your signature, it is time to export your signature images.
All your images are processed by Email Signature Creator to match the need of your signature.
And all these images need to be uploaded to a server. Your own website, or a free cloud service.
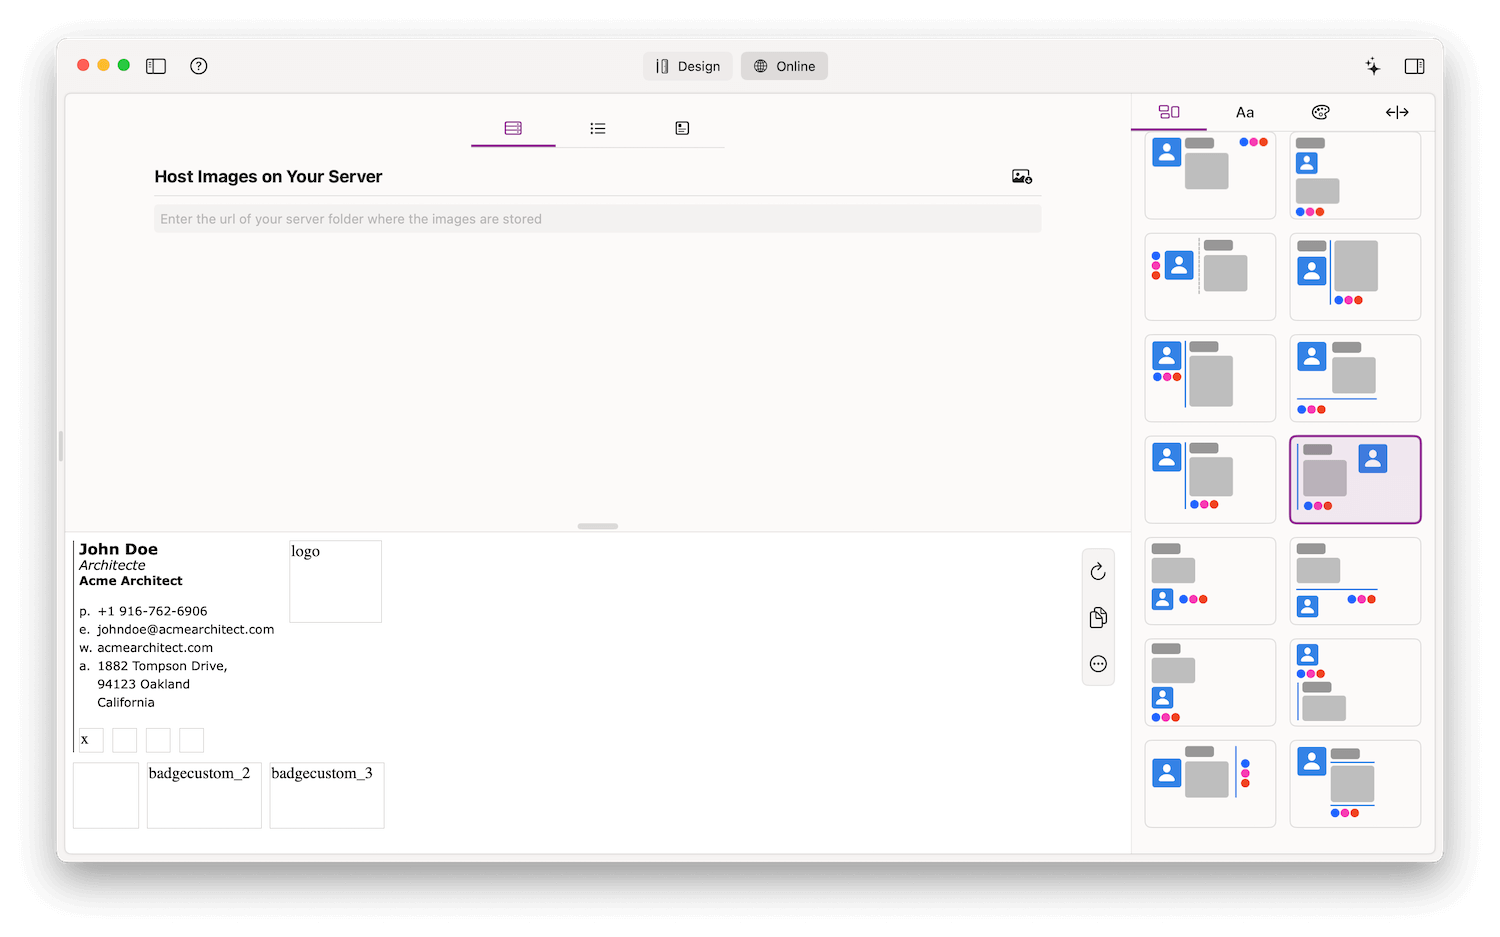
Online Mode
Now everything is ready to continue in Online tab.
We have made some video tutorials to guide you through the next step which is to get your url images links from some free cloud services, regular servers, and WordPress sites.